How to Fix HP Printer In Error State?
Jul 08, 2022 AdminHP Office Jet printers are seen in almost every office...
Easily resolved your printer problems
Estimated Read Time : 08 Min
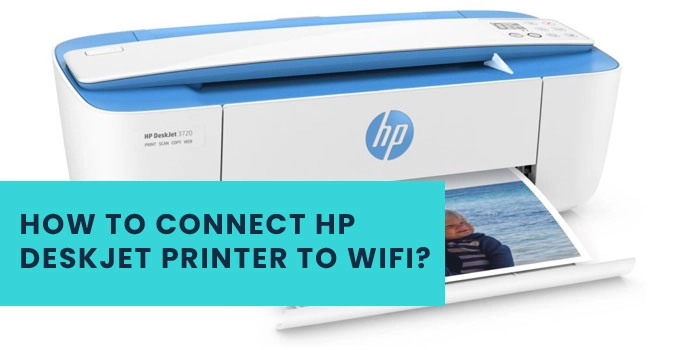
Have you recently bought the HP DeskJet Printer? Then the first thing to do with the new HP printer is to connect it to Wi-Fi. Well, if you are also looking for information about how to connect HP DeskJet printer to Wi-Fi, then this blog might be interesting for you.
In this blog post, we are going to provide you with the complete procedure for connecting the printer to Wi-Fi, so stay tuned and read this blog post till the last word.
The first thing in order to connect HP DeskJet Printer to Wi-Fi is to restore the Wi-Fi setup mode in HP printer. Given below are the steps that you can easily follow to restore Wi-Fi setup mode in the HP printer.
You have now successfully restored the Wi-Fi setup mode in the HP printer. After that, let’s have a look at the different methods for+ connecting the printer to Wi-Fi.
Auto wireless connect software is one of the easiest methods for connecting the printer to Wi-Fi. Through this method, users can automatically connect their printer to the wireless network without even providing the network settings.
So, given below are the steps that you can follow to use the auto wireless connect option for connecting the printer to Wi-Fi.
In a scenario where your printer is not compatible with the auto wireless connectivity option, you will be asked to select the alternative wireless setup method.
If your HP DeskJet printers offer a touch screen, then you can also connect them to Wi-Fi through the wireless setup wizard. Here are the steps you can follow to connect the printer to Wi-Fi through the wireless setup wizard.
Let’s look at the procedure you can follow to connect the HP printer to Wi-Fi through the HP+.
If your HP DeskJet printer does not have a touch display screen, then you have to use the USB cable to install the printer software installed. You can follow these steps to connect the HP DeskJet printer to Wi-Fi through the USB cable.
By following the above steps, your HP DeskJet printer will be connected to the Wi-Fi network.
Read Also: How to Set Up HP Wireless Printer on Mac
We hope this blog finds you well. In this write-up, we have provided you with a complete guide on how you can connect the HP DeskJet printer to Wi-Fi. If you still face any problems related to the topic, you can reach out to us through the chat box.
1. How can I bring my HP printer back to online mode?
A: If your HP printer has been switched to offline mode, then connect the main socket wire of the printer and turn it on. After that, disconnect the main wire from the socket. Now, keep the printer in the idle position for 15 to 20 seconds, and then reconnect the printer. After a few minutes, your HP printer will return to online mode.
2. How can I reset the HP printer Wi-Fi settings?
A: On your HP printer, press and hold the Wi-Fi button on the back side of the printer. Keep holding the button for five to ten seconds until the control panel shows a prompt message. Tap on the “OK” option to restore the network settings to default.
3. How can I connect the HP DeskJet printer to my Mac?
A: First of all, click on the Apple menu icon and then navigate to the “System Preferences” > “Printers & Scanners” option and then click on the “Add” option. Click on the “Default” option and select your HP printer from the list. At last, click on the “Add” option to complete the setup process.
4. Why does my HP Printer is not connecting with Wi-Fi?
A: If you cannot connect the HP printer to Wi-Fi, ensure that you have loaded enough paper sheets in the main tray and then turn on the HP printer. After that, go to the “Setup” > “Network setup” and then tap on the “Restore Network Settings” option. Subsequently, you need to provide the network name and password. Through these steps, you have now easily fixed the HP printer not connecting with Wi-Fi problem.
5. Why is my HP printer not recognizing my Wi-Fi network?
A: In case your HP printer is not recognizing the Wi-Fi network, go to the “Settings” > “Devices” > “Printers & Scanners,” and after that, select your HP printer and remove it. After that, click on the “Add a Printer or Scanner” option and add the printer to the list. This process will fix the Wi-Fi not recognizing problem.

How to Fix HP Printer In Error State?
Jul 08, 2022 AdminHP Office Jet printers are seen in almost every office...
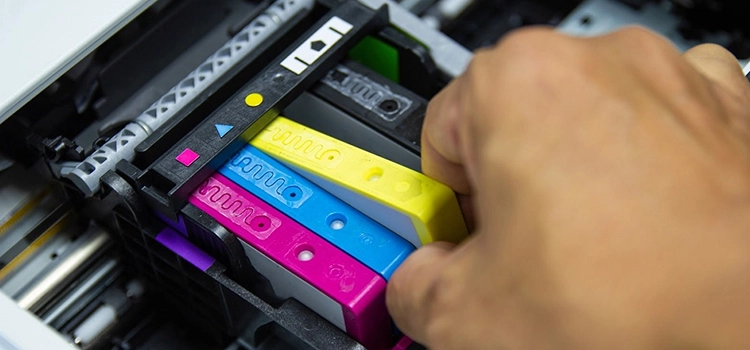
How to Fix HP Printer Cartridge Error?
Feb 22, 2022 AdminAs soon as you notice an HP printer cartridge error...